こんにちは、Habr!今回はWebsocketsで簡単なチャットをしてみました。詳しくは猫の下でようこそ。
コンテンツ
- スカラの学習:パート1-スネークゲーム
- Scalaの学習:パート2-画像をアップロードしたTodoシート
- Scalaの学習:パート3-ユニットテスト
- Scalaの学習:パート4-WebSocket
リンク
実際には、すべてのコードが1つのChatHubオブジェクトに含まれています
class ChatHub[F[_]] private(
                             val topic: Topic[F, WebSocketFrame],
                             private val ref: Ref[F, Int]
                           )
                           (
                             implicit concurrent: Concurrent[F],
                             timer: Timer[F]
                           ) extends Http4sDsl[F] {

  val endpointWs: ServerEndpoint[String, Unit, String, Stream[IO, WebSocketFrame], IO] = endpoint
    .get
    .in("chat")
    .tag("WebSockets")
    .summary("   .    : ws://localhost:8080/chat")
    .description("   ")
    .in(
      stringBody
        .description("      ")
        .example("!")
    )
    .out(
      stringBody
        .description("  -   ")
        .example("6 :     Id  f518a53d: !")
    )
    //    .
    .serverLogic(_ => IO(Left(()): Either[Unit, String]))

  def routeWs: HttpRoutes[F] = {
    HttpRoutes.of[F] {
      case GET -> Root / "chat" => logic()
    }
  }

  private def logic(): F[Response[F]] = {
    val toClient: Stream[F, WebSocketFrame] =
      topic.subscribe(1000)
    val fromClient: Pipe[F, WebSocketFrame, Unit] =
      handle
    WebSocketBuilder[F].build(toClient, fromClient)
  }

  private def handle(s: Stream[F, WebSocketFrame]): Stream[F, Unit] = s
    .collect({
      case WebSocketFrame.Text(text, _) => text
    })
    .evalMap(text => ref.modify(count => (count + 1, WebSocketFrame.Text(s"${count + 1} : $text"))))
    .through(topic.publish)
}

object ChatHub {

  def apply[F[_]]()(implicit concurrent: Concurrent[F], timer: Timer[F]): F[ChatHub[F]] = for {
    ref <- Ref.of[F, Int](0)
    topic <- Topic[F, WebSocketFrame](WebSocketFrame.Text("==="))
  } yield new ChatHub(topic, ref)
}
ここで、トピックについてすぐに説明する必要があります。これは、パブリッシャー-サブスクライバーモデルを作成できるFs2の同期プリミティブであり、同時に多くのパブリッシャーとサブスクライバーを持つことができます。一般に、キュー内のメッセージ数に制限があり、パブリッシャーはすべてのサブスクライバーがメッセージキュー内のメッセージを受信するまで待機し、オーバーフローするとハングする可能性があるため、キューなどの何らかのバッファーを介してメッセージを送信することをお勧めします。
val topic: Topic[F, WebSocketFrame],
ここでは、チャットに送信されたメッセージの数も各メッセージの数として数えます。異なるスレッドからこれを行う必要があるため、ここではRefと呼ばれ、操作のアトミック性を保証するAtomicのアナログを使用しました。
private val ref: Ref[F, Int]
ユーザーからのメッセージのストリームを処理します。
  private def handle(stream: Stream[F, WebSocketFrame]): Stream[F, Unit] =
    stream
//       .
    .collect({
      case WebSocketFrame.Text(text, _) => text
    })
//               .
    .evalMap(text => ref.modify(count => (count + 1, WebSocketFrame.Text(s"${count + 1} : $text"))))
//
    .through(topic.publish)
実際には、ソケットを作成するロジックそのものです。
private def logic(): F[Response[F]] = {
//    .
    val toClient: Stream[F, WebSocketFrame] =
//
      topic.subscribe(1000)
//
    val fromClient: Pipe[F, WebSocketFrame, Unit] =
//
      handle
//         .
    WebSocketBuilder[F].build(toClient, fromClient)
  }
ソケットをサーバー上のルートにバインドします(ws:// localhost:8080 / chat)
def routeWs: HttpRoutes[F] = {
    HttpRoutes.of[F] {
      case GET -> Root / "chat" => logic()
    }
  }
実際、それだけです。次に、このルートでサーバーを起動できます。私はまだどんな種類の文書も作りたかったのです。一般に、WebSocketやRabbitMQ AMPQなどの他のイベントベースの対話を文書化するために、AsynAPIがありますが、Tapirの下には何もないので、GETリクエストとしてSwaggerのエンドポイントについて説明しました。もちろん、彼は働きません。より正確には、501エラーが返されますが、Swaggerで表示されます。
  val endpointWs: Endpoint[String, Unit, String, fs2.Stream[F, Byte]] = endpoint
    .get
    .in("chat")
    .tag("WebSockets")
    .summary("   .    : ws://localhost:8080/chat")
    .description("   ")
    .in(
      stringBody
        .description("      ")
        .example("!")
    )
    .out(
      stringBody
        .description("  -   ")
        .example("6 :     Id  f518a53d: !")
    )
スワッガー自体は次のようになり

ます。チャットをAPIサーバーに接続します。
    todosController = new TodosController()
    imagesController = new ImagesController()
//
    chatHub <- Resource.liftF(ChatHub[IO]())
    endpoints = todosController.endpoints ::: imagesController.endpoints
//     Swagger
    docs = (chatHub.endpointWs :: endpoints).toOpenAPI("The Scala Todo List", "0.0.1")
    yml: String = docs.toYaml
//
    routes = chatHub.routeWs <+>
      endpoints.toRoutes <+>
      new SwaggerHttp4s(yml, "swagger").routes[IO]
    httpApp = Router(
      "/" -> routes
    ).orNotFound
    blazeServer <- BlazeServerBuilder[IO](serverEc)
      .bindHttp(settings.host.port, settings.host.host)
      .withHttpApp(httpApp)
      .resource
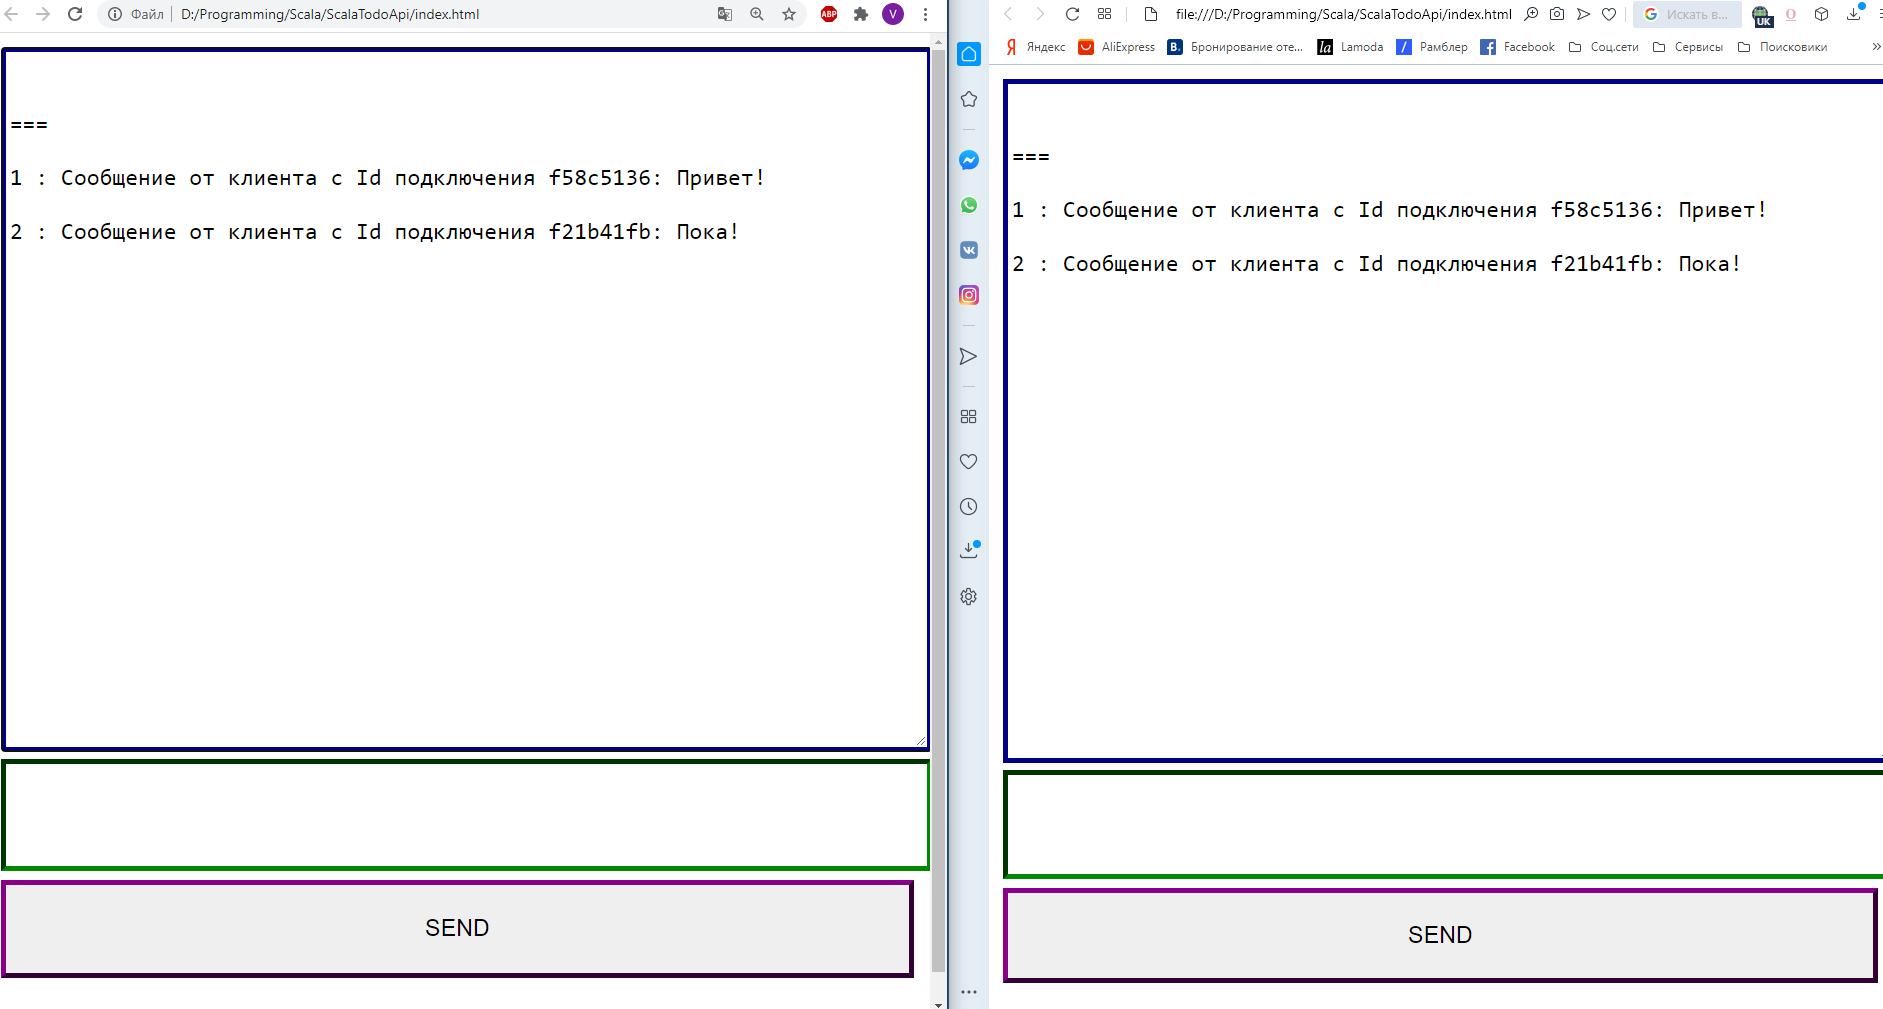
非常にシンプルなスクリプトでチャットに接続します。
    <script>
        const id = `f${(~~(Math.random() * 1e8)).toString(16)}`;
        const webSocket = new WebSocket('ws://localhost:8080/chat');

        webSocket.onopen = event => {
            alert('onopen ');
        };

        webSocket.onmessage = event => {
            console.log(event);
            receive(event.data);
        };

        webSocket.onclose = event => {
            alert('onclose ');
        };

        function send() {
            let text = document.getElementById("message");
            webSocket.send(`    Id  ${id}: ${text.value}`);
            text.value = '';
        }

        function receive(m) {
            let text = document.getElementById("chat");
            text.value = text.value + '\n\r' + m;
        }
    </script>
これが実際にはすべてです。岩を研究している人がこの記事に興味を持ってくれることを願っています。