Pythonプログラミング言語のすべてのファンと専門家に挨拶します!
-今日はマルチタッチのサポートのためのクロスプラットフォームのフレームワークにおけるアニメーションの話題に対処していきますKivyと一緒にGoogleのマテリアルデザインコンポーネントライブラリ- KivyMD。前回の記事では、Python / Kivy / KivyMDのテストアプリケーションの例をすでに分析しました。この記事では、アニメーションのトピックについて詳しく説明します。記事の最後に、プロジェクトのリポジトリへのリンクを提供します。このリポジトリから、Kivy / KivyMDのデモアプリケーションをダウンロードして実感できます。前の記事と同様に、この記事には少量のGIFアニメーションとビデオが含まれているので、コーヒーを注いで行きましょう。
Kivyは、Linux、Windows、OS X、Android、iOS、およびRaspberryPiで動作します。コードベースに追加の変更を加えることなく、サポートされているすべてのプラットフォームで同じコードを実行できます。Kivyは、WM_Touch、WM_Pen、Mac OS XTrackpadとMagicMouse、Mtdev、Linux Kernel HID、TUIOなど、さまざまな入力デバイスをサポートし、Flutterと同様に、ネイティブコントロールを使用しません。そのウィジェットはすべてカスタマイズ可能です。これは、Kivyアプリがすべてのプラットフォームで同じように見えることを意味します。ただし、Kivyウィジェットは好きなようにカスタマイズできるため、独自のウィジェットを作成できます。たとえば、これはKivyMDライブラリがどのように表示されたかです。先に進む前に、Kivyの機能の概要を見てみましょう。
Kivyアプリケーションのデモ
これらのビデオは、ジェスチャーとアニメーションを使用して、Kivyアプリケーションとユーザーとの相互作用を明確に示しています。2つのラベルのアニメーションを使用して簡単なアプリケーションを作成しましょう。
from kivy.animation import Animation
from kivy.lang import Builder

from kivymd.app import MDApp


KV = """
<CommonLabel@MDLabel>
    opacity: 0
    adaptive_height: True
    halign: "center"
    y: -self.height


MDScreen:
    on_touch_down: app.start_animation()

    CommonLabel:
        id: lbl_1
        font_size: "32sp"
        text: "M A R S"

    CommonLabel:
        id: lbl_2
        font_size: "12sp"
        text: "Lorem ipsum dolor sit amet, consectetur adipiscing elit"
"""


class TestAnimation(MDApp):
    def build(self):
        return Builder.load_string(KV)

    def start_animation(self):
        lbl_1 = self.root.ids.lbl_1
        lbl_2 = self.root.ids.lbl_2

        Animation(
            opacity=1, y=lbl_1.height * 2, d=0.9, t="in_out_back"
        ).start(lbl_1)
        Animation(
            opacity=1, y=lbl_2.height + ids.lbl_1.height, d=1, t="in_out_back"
        ).start(lbl_2)


TestAnimation().run()
これは既製のアプリケーションです。少しだけ編集します。KV行のCommonLabelルールは、Pythonコードでクラスを作成するのと似ています。比較:

Kivy Language のコードは常に短く、読みやすくなっています。したがって、Pythonコードでは、ロジックしかありません。CommonLabelルールで説明されている共通のプロパティを持つ2つのラベルを作成しました:不透明度、ラベルテクスチャサイズ(adaptive_height)、水平方向の配置(halign)、Y軸の位置(y)、これらのラベルにid-shniki(lbl_1、lbl_2)を付けました。 Pythonコードからラベルオブジェクトのプロパティにアクセスして操作できるようにします。次に、start_animationメソッド呼び出しをon_touch_downイベントにアタッチしました(画面のどこかに触れたときにトリガーされます)ここでは、2つのラベルをアニメーション化します。
アニメーション
Kivyは、Animationクラスを使用してオブジェクトをアニメーション化します。使用は非常に簡単です:Animationクラスを初期化するときは、アニメーションの最後に到達するターゲット値を引数としてプロパティ名を渡す必要があります。例えば:
    def start_animation(self):
        #     KV
        lbl_1 = self.root.ids.lbl_1
        lbl_2 = self.root.ids.lbl_2
        #
        Animation(
            opacity=1,  #     1
            y=lbl_1.height * 2,  #      Y
            d=0.9,  #
            t="in_out_back"  #
        ).start(lbl_1)  #   start  ,
        #
        Animation(
            opacity=1, y=lbl_2.height + lbl_1.height, d=1, t="in_out_back"
        ).start(lbl_2)
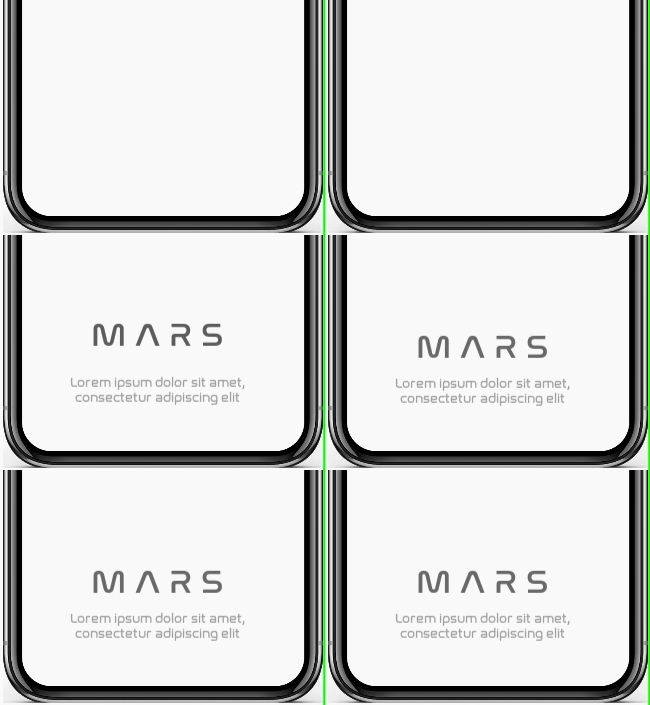
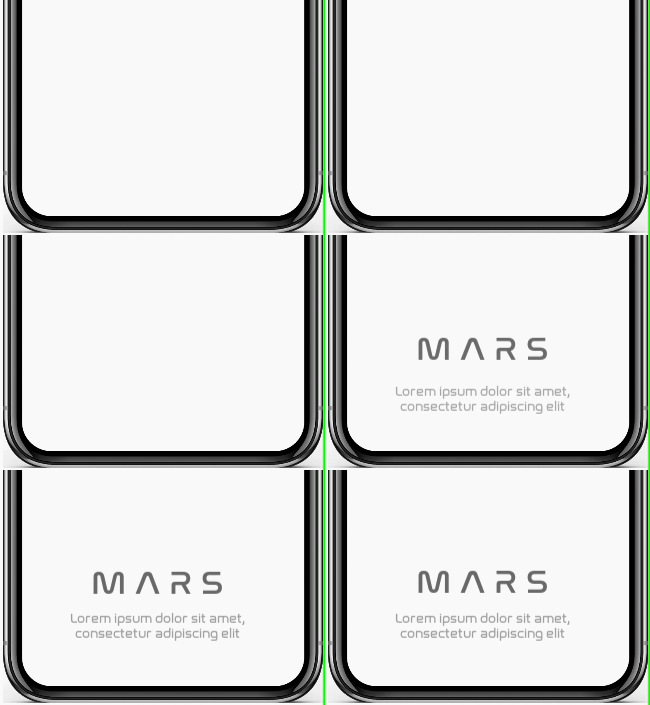
以下のアニメーションでは、さまざまなタイプのアニメーションを使用して、作成した最も単純なアニメーションの結果を示しています。
- in_out_back
- out_elastic
- 線形
 |
 |
 |
タスクを少し複雑にして、平面上のラベルの回転をアニメートしてみましょう。このために、マトリックス操作(PushMatrix、PopMatrix、Rotate、Translate、Scale)を使用します。共有ラベルにcanvasステートメントを追加します。
<CommonLabel@MDLabel>
    angle: 180  #
    [...]

    canvas.before:
        PushMatrix
        Rotate:
            angle: self.angle
            origin: self.center
    canvas.after:
        PopMatrix
また、Pythonコードでは、アニメーションの新しいangleプロパティをAnimationクラスに渡します。
    def start_animation(self):
        lbl_1 = self.root.ids.lbl_1
        lbl_2 = self.root.ids.lbl_2

        Animation(angle=0, [...]).start(lbl_1)
        Animation(angle=0, [...]).start(lbl_2)
結果:

ラベルのスケールのアニメーションを追加しましょう:
<CommonLabel@MDLabel>
    scale: 5  #
    [...]

    canvas.before:
        PushMatrix
        [...]
        Scale:
            #
            x: self.scale
            y: self.scale
            z: self.scale
            origin: self.center
    canvas.after:
        PopMatrix
Pythonコードでは、アニメーションの新しいscaleプロパティをAnimationクラスに渡します。
    def start_animation(self):
        lbl_1 = self.root.ids.lbl_1
        lbl_2 = self.root.ids.lbl_2

        Animation(scale=1, [...]).start(lbl_1)
        Animation(scale=1, [...]).start(lbl_2)
結果:

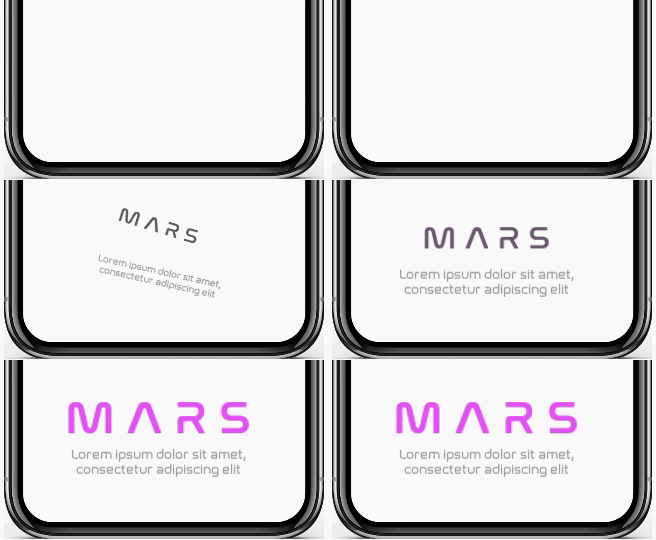
Animation クラスには、アニメーションプロセスを追跡するためのイベントがいくつかあります:on_start、on_progress、on_complete。後者を検討してください。on_completeは、アニメーションプロセスが終了したときに呼び出されます。このイベントを、これから作成するcomplete_animationメソッドにバインドしましょう。
[...]


class TestAnimation(MDApp):
    [...]

    def complete_animation(self, animation, animated_instance):
        """
        :type animation: <kivy.animation.Animation object>
        :type animated_instance: <WeakProxy to <kivy.factory.CommonLabel object>>
        """

        #      .
        Animation(scale=1.4, d=1, t="in_out_back").start(animated_instance)
        Animation(color=(1, 0, 1, 1), d=1).start(animated_instance)
イベントをバインドします。
    def start_animation(self):
        [...]

        animation = Animation(
            angle=0, scale=1, opacity=1, y=lbl_1.height * 2, d=0.9, t="in_out_back"
        )
        animation.bind(on_complete=self.complete_animation)
        animation.start(lbl_1)

        [....]
結果:
それは今のところすべてです。質問:

以下に、Kivy / KivyMDプロジェクトのプレビューと、APKをダウンロードしてタッチできるリポジトリへのリンクを添付します。
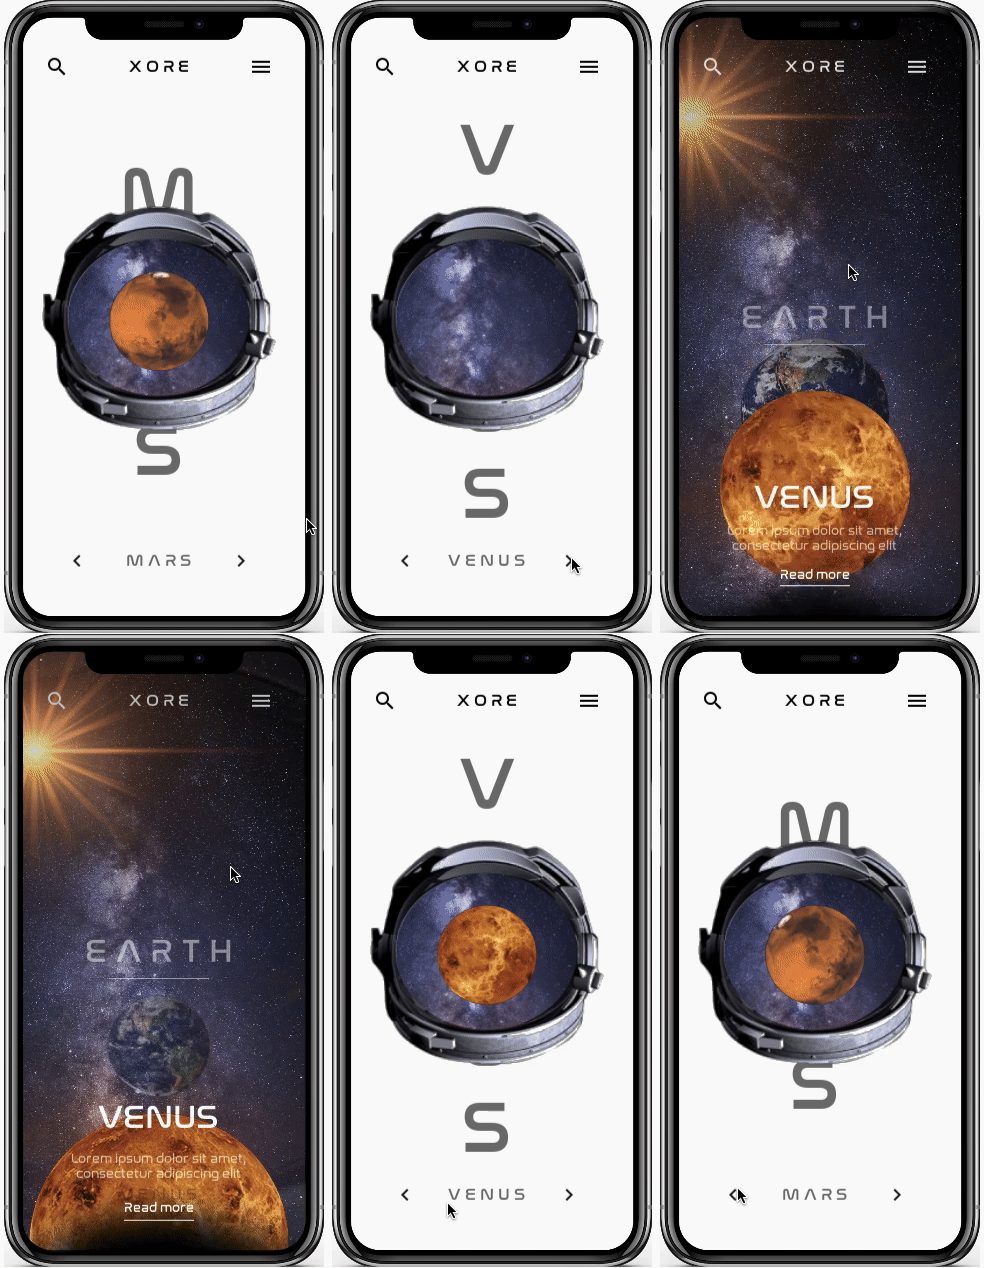
→ APKリポジトリ
はリポジトリディレクトリにあります-StarTest / bin