最近、私はSoC ZynqXC7Z020を備えたデバッグボードのオプションの1つに出くわしました。インターネットで資料やハウツーを検索し、最小限のプロジェクトを投入しようとしたところ、いくつかの落とし穴があることに気づきました。これが私が記事で話したいことです。誰が気にする-猫へようこそ。
重要!ストーリーを始める前に、この記事を書くときに私が追求している主な目標は、Zynqベースのデバッグボードを勉強するときにどこから始めればよいかをアマチュアに示すことであることを事前に予約したいと思います。私はFPGAおよびSoCZynqのプロの開発者ではないため、用語の使用に誤りを犯したり、問題を解決するための最適な方法を使用したりすることはできません。しかし、建設的で理にかなった批判は歓迎されます。さて、行きましょう...
これはどのようなデバッグですか?ショーテル..。
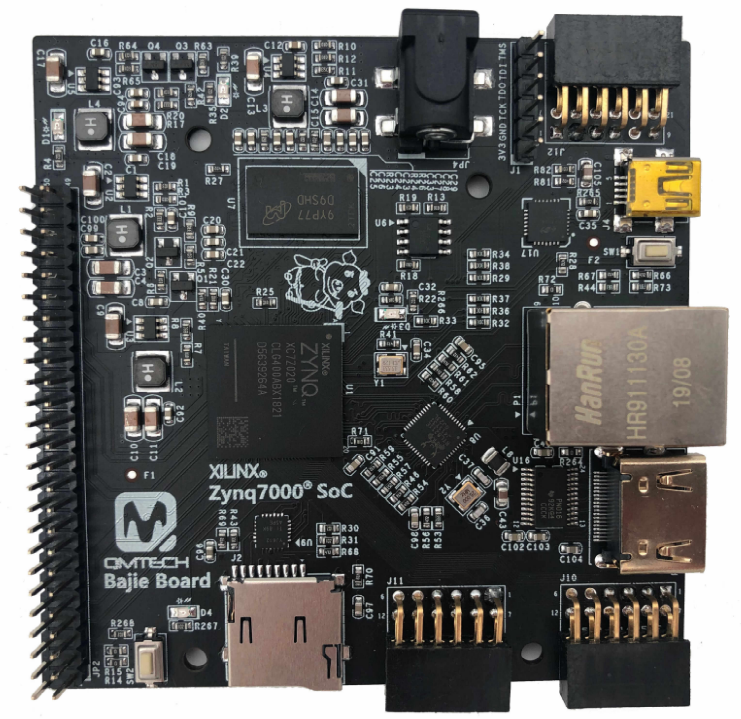
非常に長い間、SoC Zynqで遊びたかったのですが、手が届きませんでした。しかし、もう一度グーグル-QMTechのZynqを搭載したデバッグが、完全に正気の値札で販売されているのを見ました。これはBajieBoardと呼ばれています。デバッグは、さまざまなZynqSoCフレーバーのいくつかのフレーバーで利用できます。私は自分でXC7Z020バージョンを選び、すぐに注文しました。数週間後、すでに手元にありました。
, . , 5/2, mini-USB microSD Flash- SanDisk 16 Linux. , , USB-, Putty mini- Embedded Linux. Linux Zynq, , , ...
, -:
SoC: XC7Z020-1CLG400C
(datasheet:https://www.xilinx.com/support/documentation/data_sheets/ds190-Zynq-7000-Overview.pdf);
33,333 ;
DDR3 512 Micron, MT41K256M16TW-107:P;
micro SD;
FPGA TPS563201 ( 4.5V 17V, 3A);
50- Digilent PMOD , , 2,54 . ( , );
(PS);
RGMII Ethernet- Realtek RTL8211E-VL, PS;
, (PL) (PS);
HDMI- TI TPD12S016;
JTAG-;
.
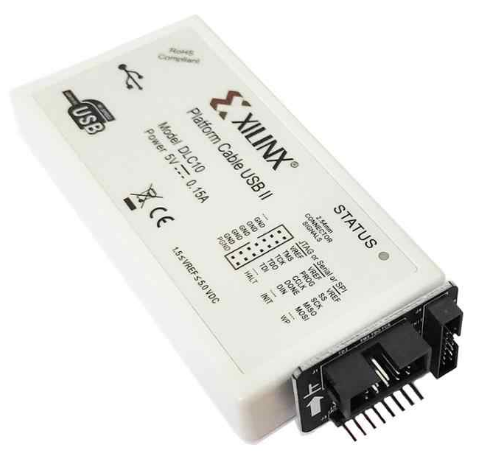
, , - JTAG-. .
, Xilinx Vivado Xilinx SDK. , , Vivado . Xilinx SDK ( Vitis) .
YouTube Vivado 2019.1 ( - , Xilinx SDK) - , 2020.2.
Xilinx Zynq - Xilinx, . , , Vivado - 2020.2, 2020.3 .. Versal SoC, Zynq.
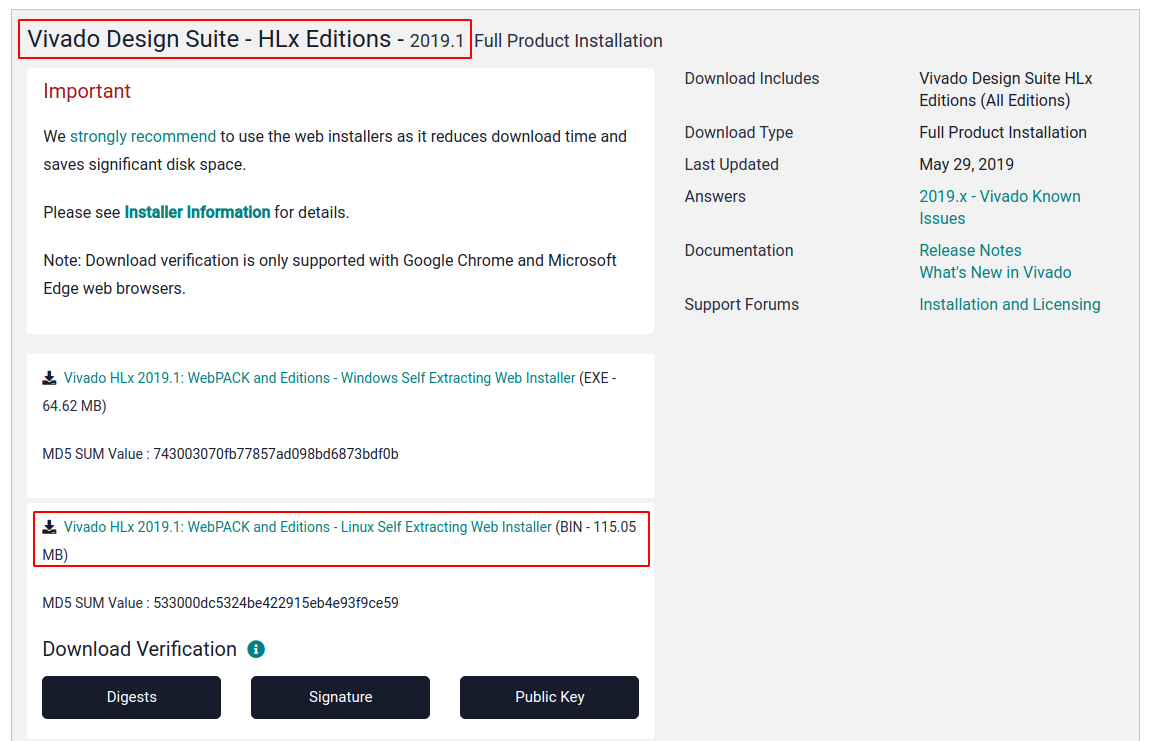
, .. Linux - Vivado Archive - 2019.1 Vivado HLx 2019.1: WebPACK and Editions - Linux Self Extracting Web Installer Vivado Design Suite - HLx Editions - 2019.1. Windows - Windows Self Extracting Web Installer.
, :
chmod +x ~/Downloads/Xilinx_Vivado_SDK_Web_2019.1_0524_1430_Lin64.bin ~/Downloads/Xilinx_Vivado_SDK_Web_2019.1_0524_1430_Lin64.bin
.
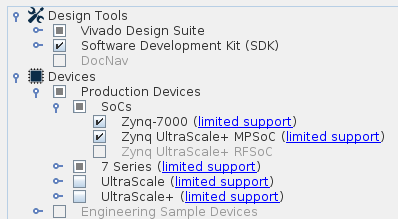
, ;
;
Vivado HL WebPACK;
, SoC Zynq .
16 -, .
Vivado JTAG-. Linux :
cd Xilinx2019.1/Vivado/2019.1/data/xicom/cable_drivers/lin64/install_script/install_drivers/
sudo ./install_drivers
6 JTAG- . :
cd ~/Xilinx2019.1/Vivado/2019.1/bin
./xsdb
xsdb% connect -host localhost
xsdb% jtag targets
1 Platform Cable USB 13724327082b01
2 arm_dap (idcode 4ba00477 irlen 4)
3 xc7z020 (idcode 23727093 irlen 6 fpga)
.
Hello, world “ ”
LED- .
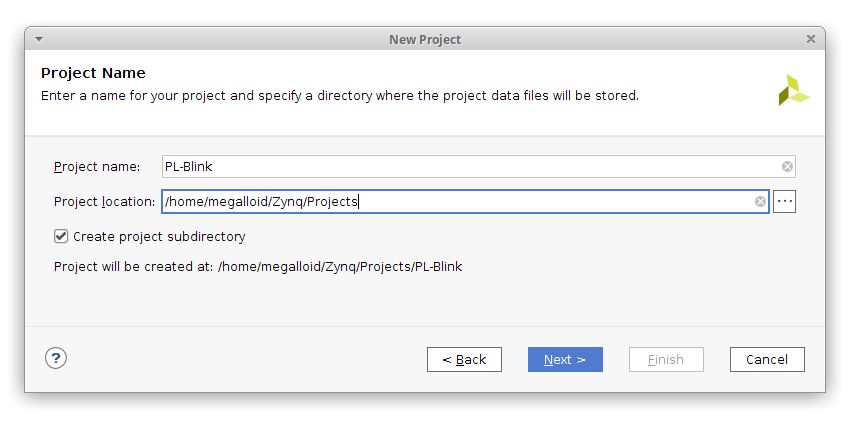
Vivado . File - Project - New…
, Next > PL-Blink.
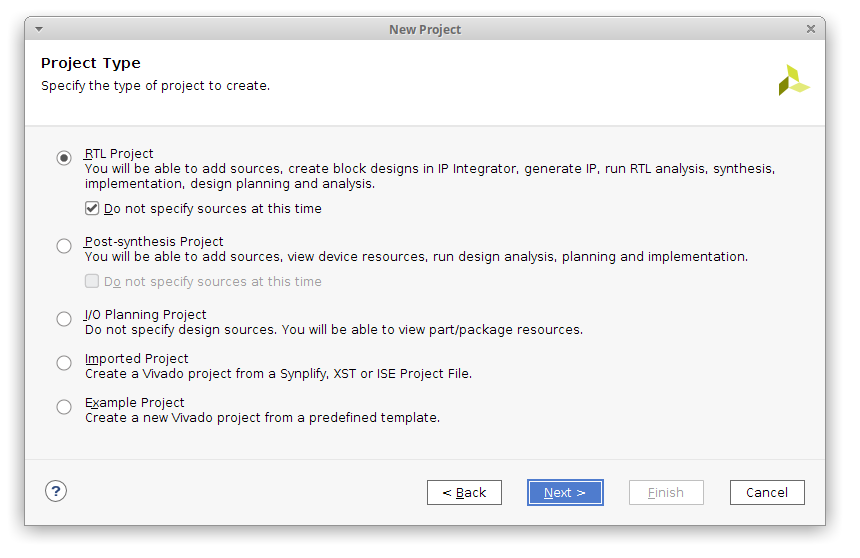
RTL Project Do not specify sources at this time.
xc7z020clg400-1.
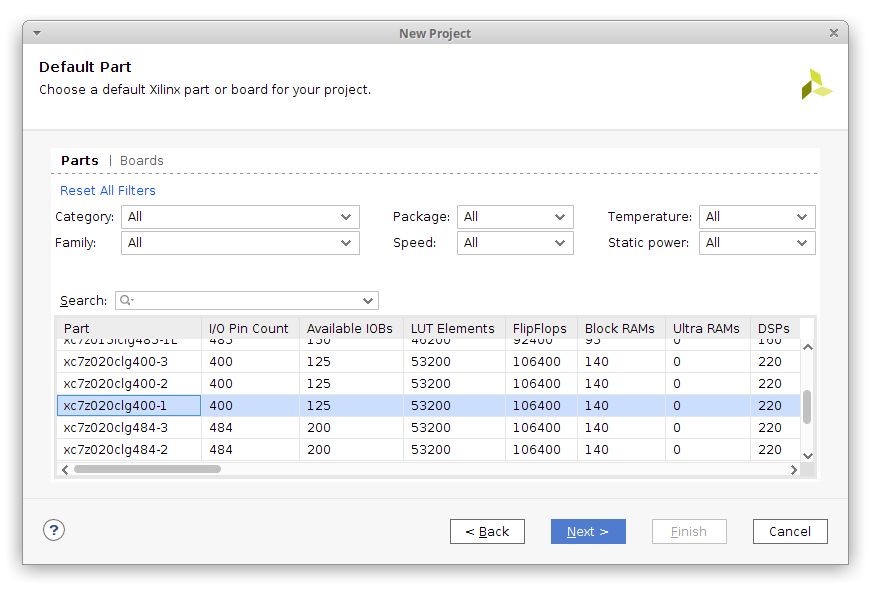
Finish.
Vivado !
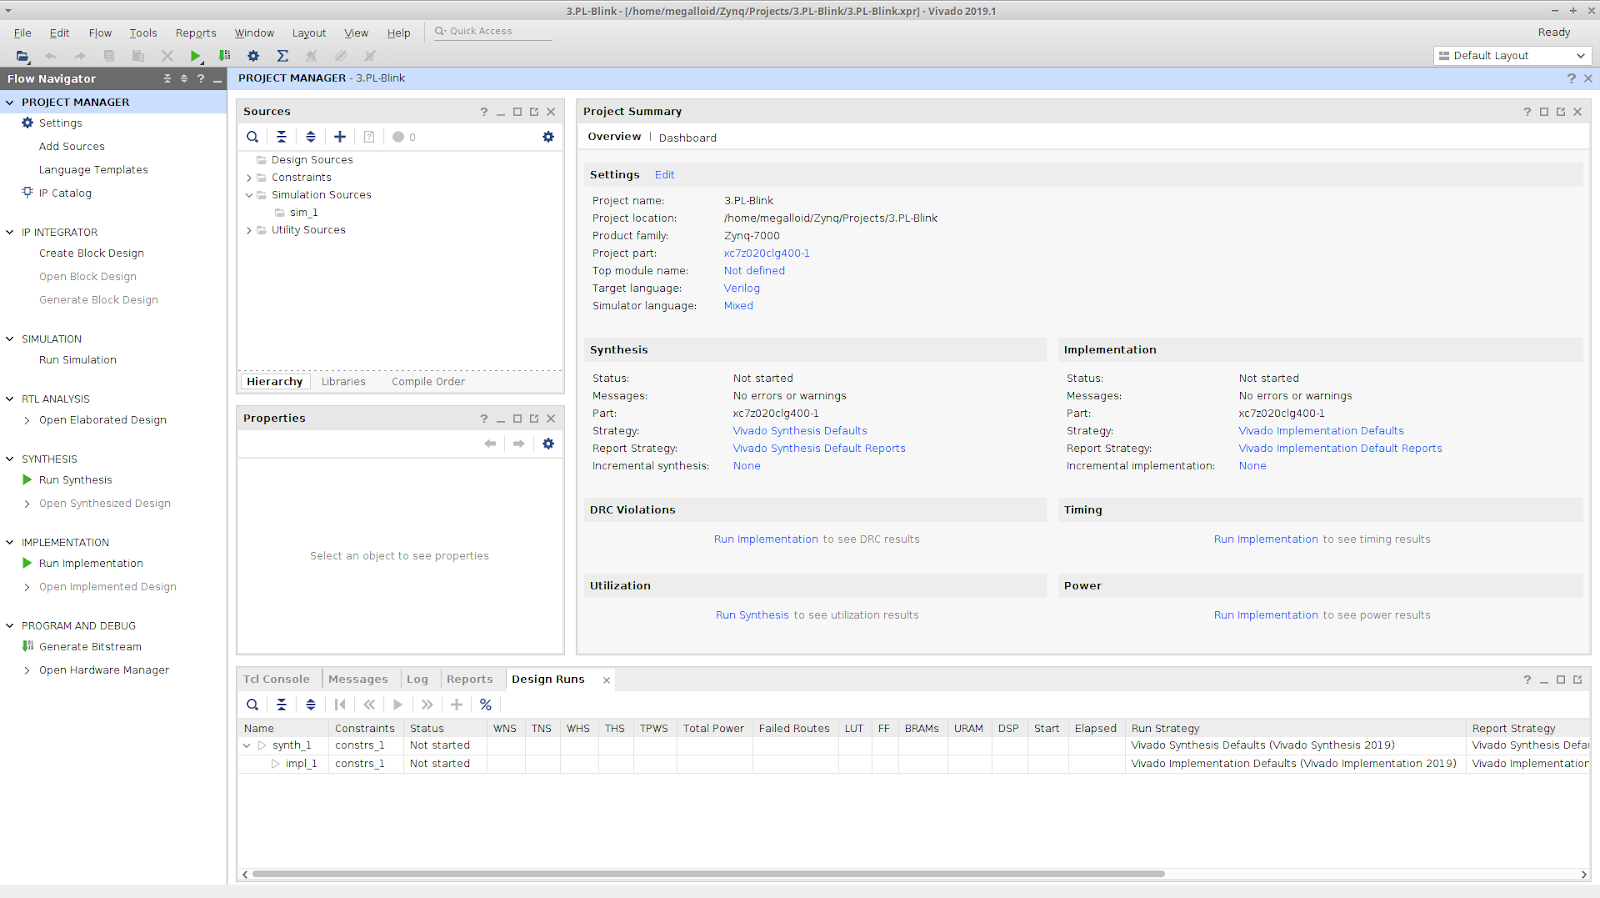
, , , =)
Sources Add Sources.
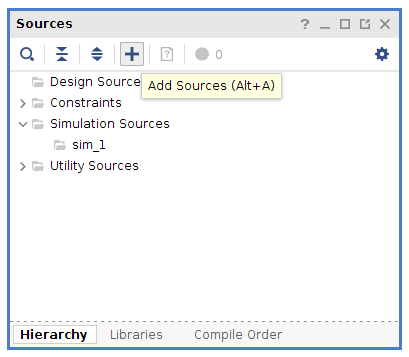
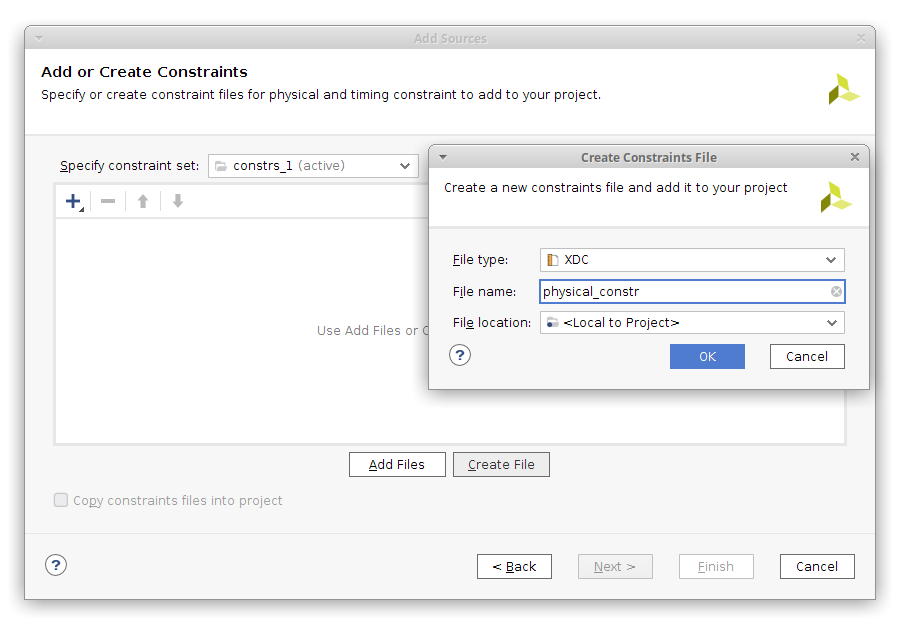
Add or create constraints.
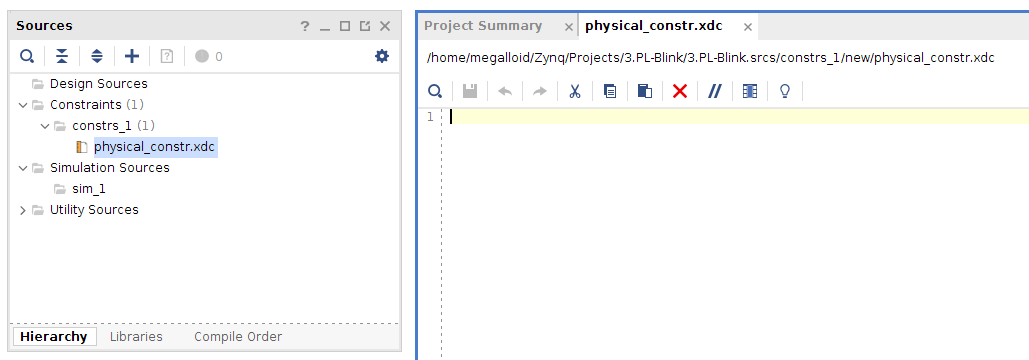
Create file physical_constr. .
Finish Soures :
, , . , , Ethernet- RTL8211E-VL PLL, 125 H16 (IO_L13P_T2_MRCC_35). ? =)
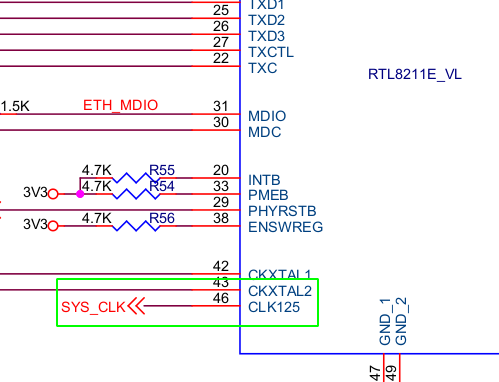
, .
, , H17 (IO_L13N_T2_MRCC_35) , .

. constraints- :
# User LED and Clock
set_property IOSTANDARD LVCMOS33 [get_ports led_h17_d4]
set_property IOSTANDARD LVCMOS33 [get_ports sys_clk]
set_property PACKAGE_PIN H17 [get_ports led_h17_d4]
set_property PACKAGE_PIN H16 [get_ports sys_clk]
, , , , .
, get_ports ( ). , Verilog-.
Design Source. Sources Add Sources.

Add or create design sources. Create File, , Verilog. Finish.
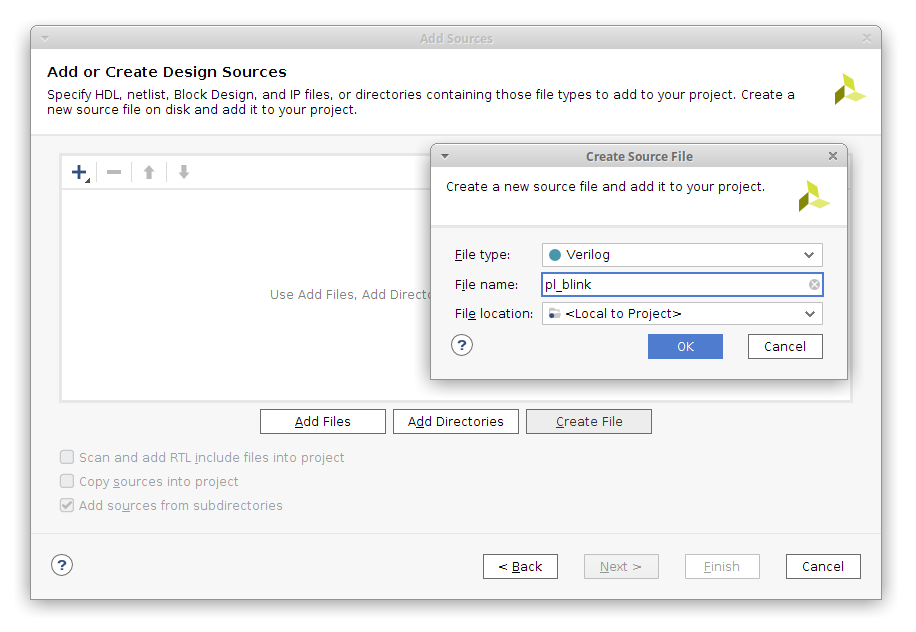
Yes.

:
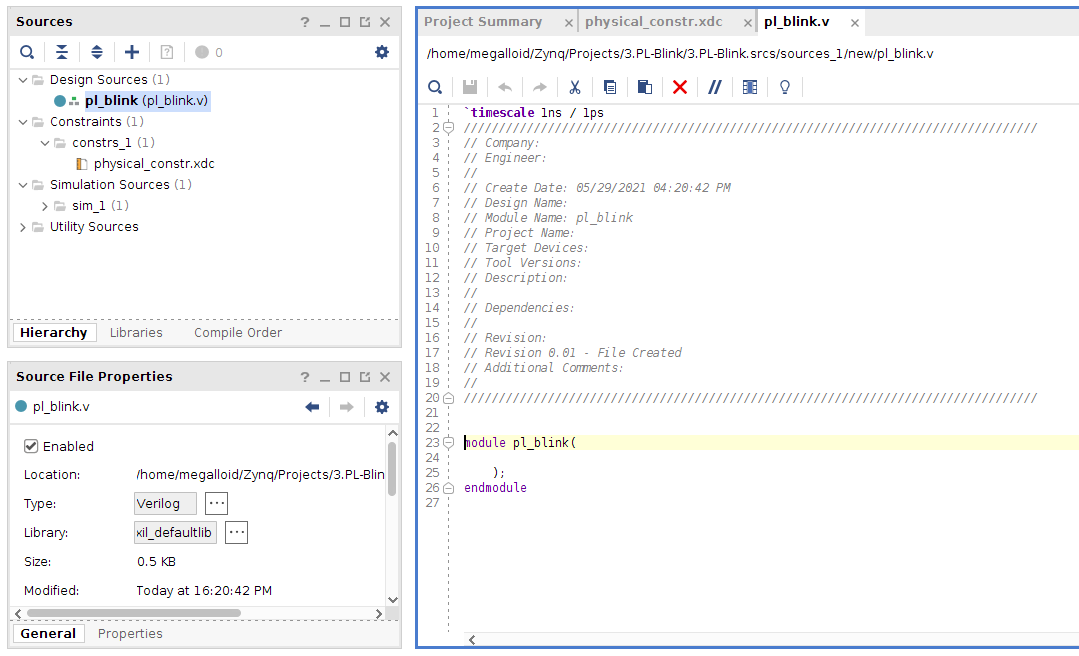
Verilog- :
// , Verilog.
// , .
`timescale 1ns / 1ps
// - ( ++)
module pl_blink(input sys_clk, output led_h17_d4);
//
reg r_led;
// ,
reg [31:0] counter;
//
initial begin
counter <= 32'b0; //
r_led <= 1'b0; //
end
// ,
always@(posedge sys_clk)
begin
counter <= counter + 1'b1; //
if(counter > 12000000) //
begin
r_led <= !r_led; //
counter <= 32'b0; //
end
end
assign led_h17_d4 = r_led; // ()
endmodule
Ctrl + S . , . - , Zynq .
Run Synthesis . , :
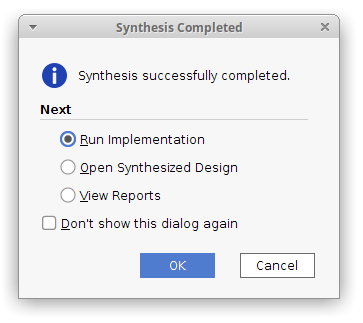
Run implementation . Generate Bitstream :
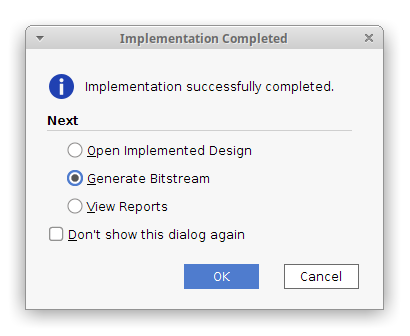
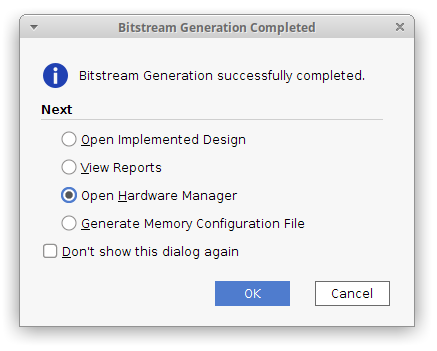
, , Open Hardware Manager :
Hardware Manager Auto connect, :
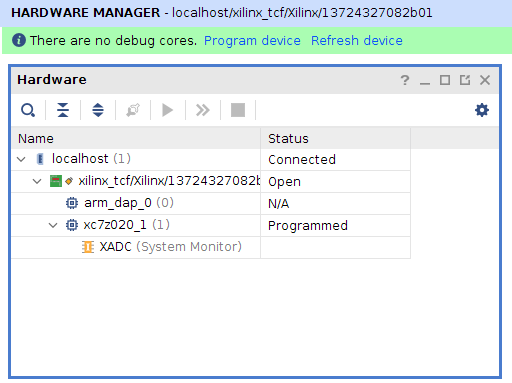
左側のメニューで、または[ハードウェア]メニューのxc7z020_1を右クリックして、[デバイスのプログラム]項目をクリックします。
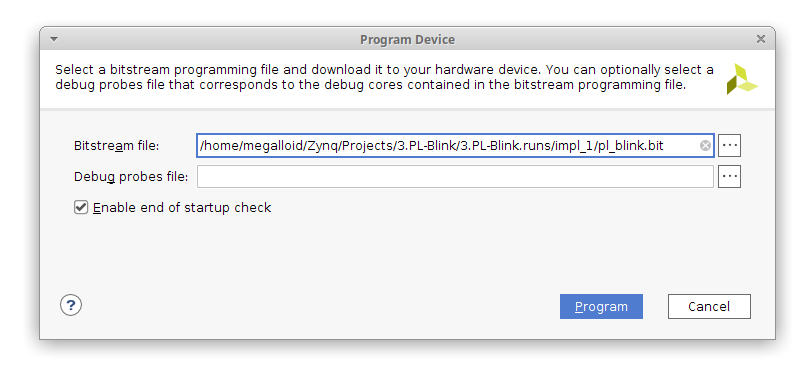
次のウィンドウで、ビットストリームファイルへのパスが正しく指定されていることを確認し、[プログラム]ボタンをクリックします。
プログラムは私たちのボードにアップロードされます...
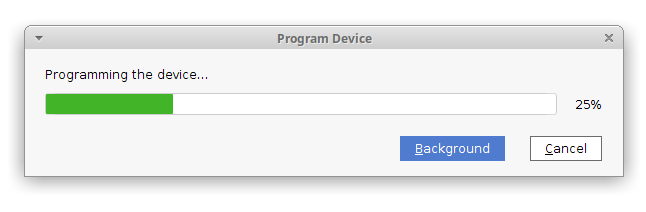
そしてしばらくすると、ボードのD2 LEDが点灯し、「FPGA DONE」とボードの反対側に、陽気に点滅するLEDが表示されます。=)
一般に、タスクは完了したと見なすことができます。私はVerilog言語を習得し、このボードを使用して新しい問題を解決することで、再びあなたを喜ばせることができると思います。